How I Teach It: A Look Inside My Science Classroom
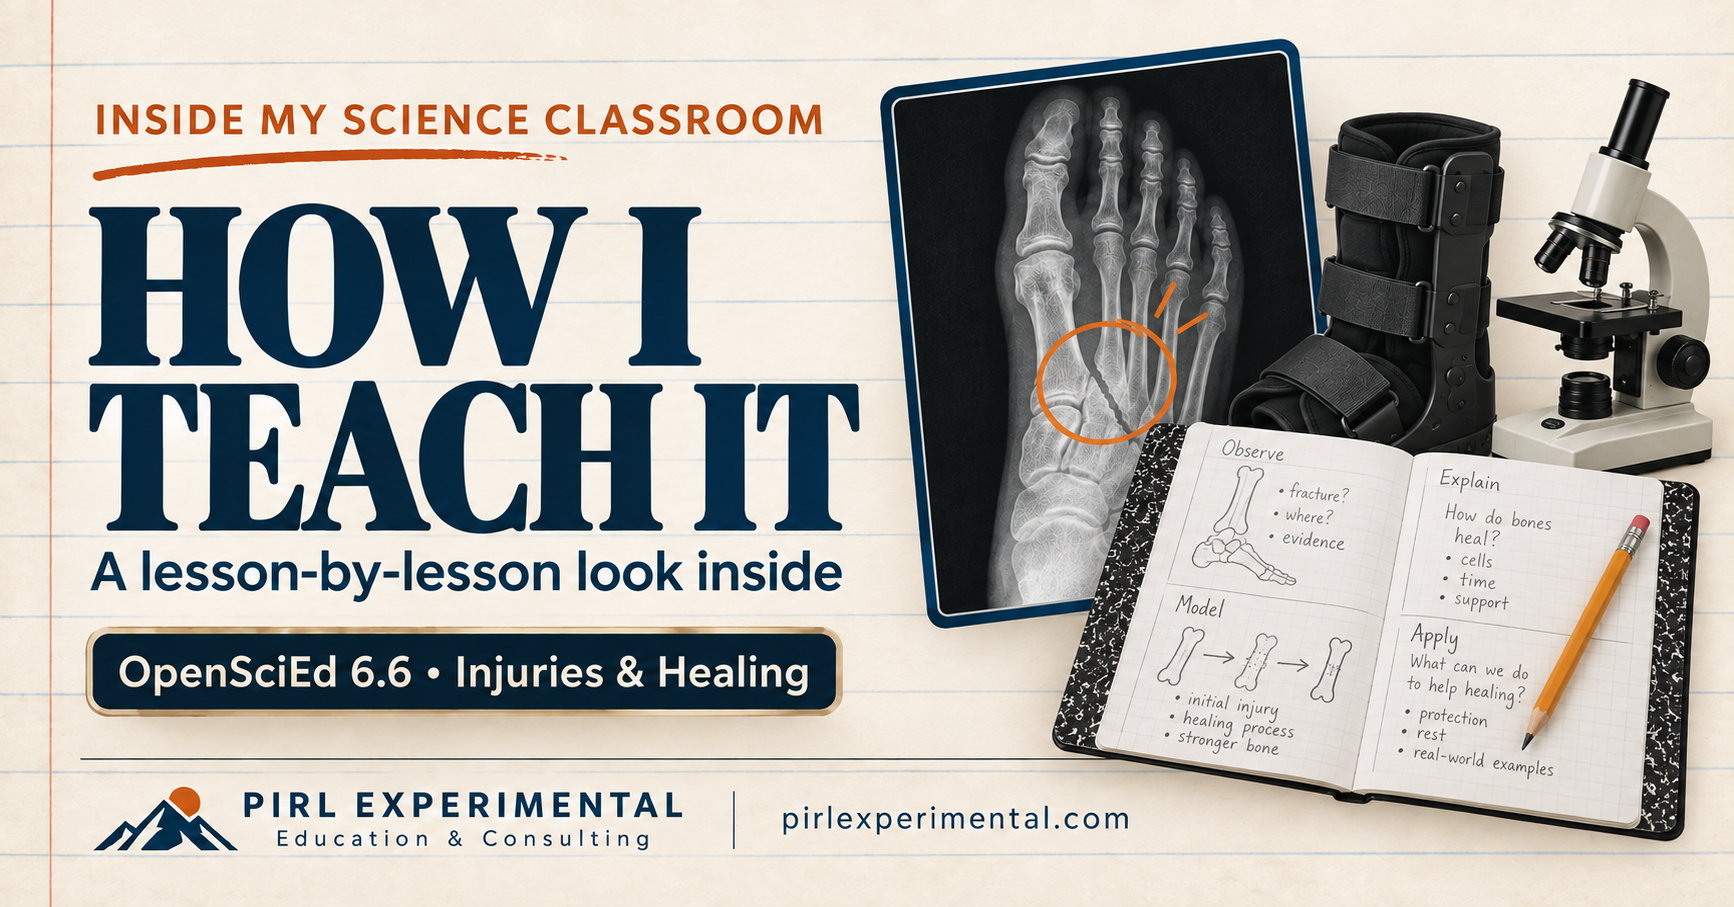
A lesson-by-lesson look at the materials, routines, and decisions behind my seventh-grade science classroom.
A lesson plan can tell you what comes next. What I often want to know from another teacher is how they actually make it work. What do students see first? What goes in the notebook? When does the teacher step in and explain something? How does a simulation connect to the reading, the hands-on work, or the conversation that follows? Those are the decisions I want to share in a new series on Pirl Experimental called How I Teach It.
I’m starting with OpenSciEd Unit 6.6, which I teach through the lens of injuries and healing. The unit gives us a compelling reason to investigate the body: an injury affects several structures, and recovery raises questions about what is happening inside us. As I work through the lessons, I’m documenting how I organize that learning for my seventh graders. Each article will take readers into the sequence, the materials, and the thinking behind my choices, with screenshots and examples wherever they help make the approach easier to understand.
There are a lot of decisions between opening a curriculum resource and teaching a room full of students. I have to think about the time we have, the reading support students need, what they can investigate productively, and where a short explanation would help them move forward. Sometimes I keep an activity close to the original. Sometimes I change the order, add a visual, build a simulation, or make room for a more direct mini-lesson. I want the series to make those choices visible so another teacher can decide what might be useful in their own classroom.
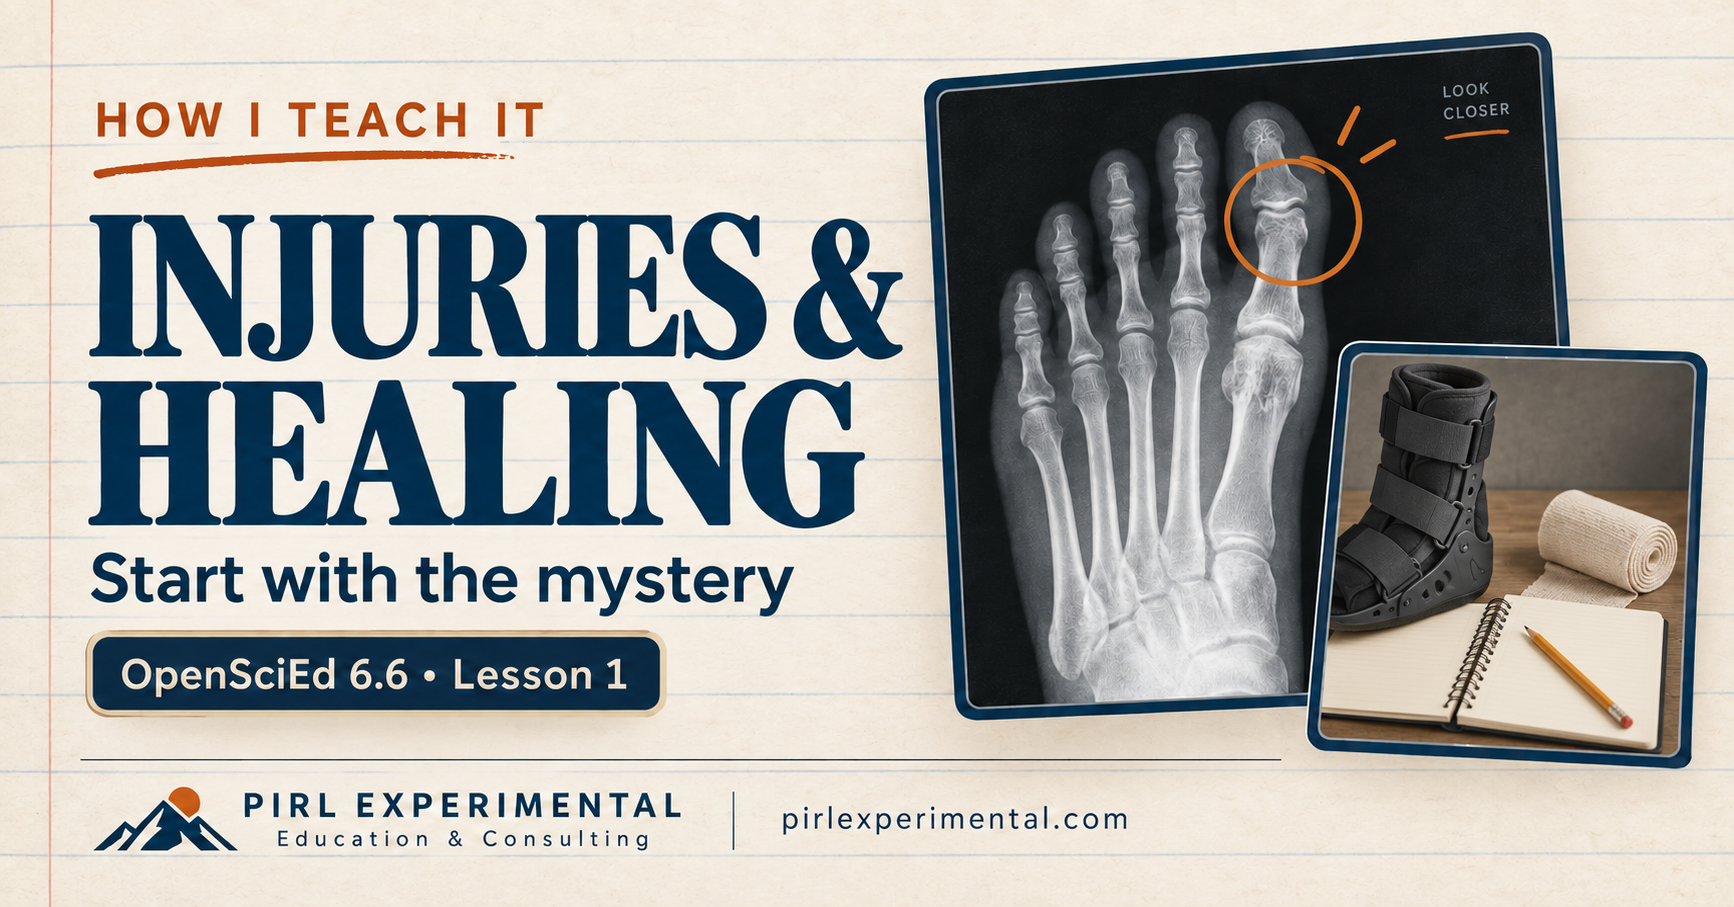
The first two articles show different parts of that process. In How I Teach the Unit Intro: Start with the Mystery, I walk through an introduction that spans two 66-minute meetings. Students begin with injury images and medical reports, use my Injury Mystery Lab to explore possible explanations, and return to the case through recovery reports and hands-on stations. Their notebooks give them a place to record observations, explain their thinking, ask questions, and revise. The article also includes an annotated recovery-report example showing the simple symbols we use to track improvement, unchanged findings, continuing problems, and questions.
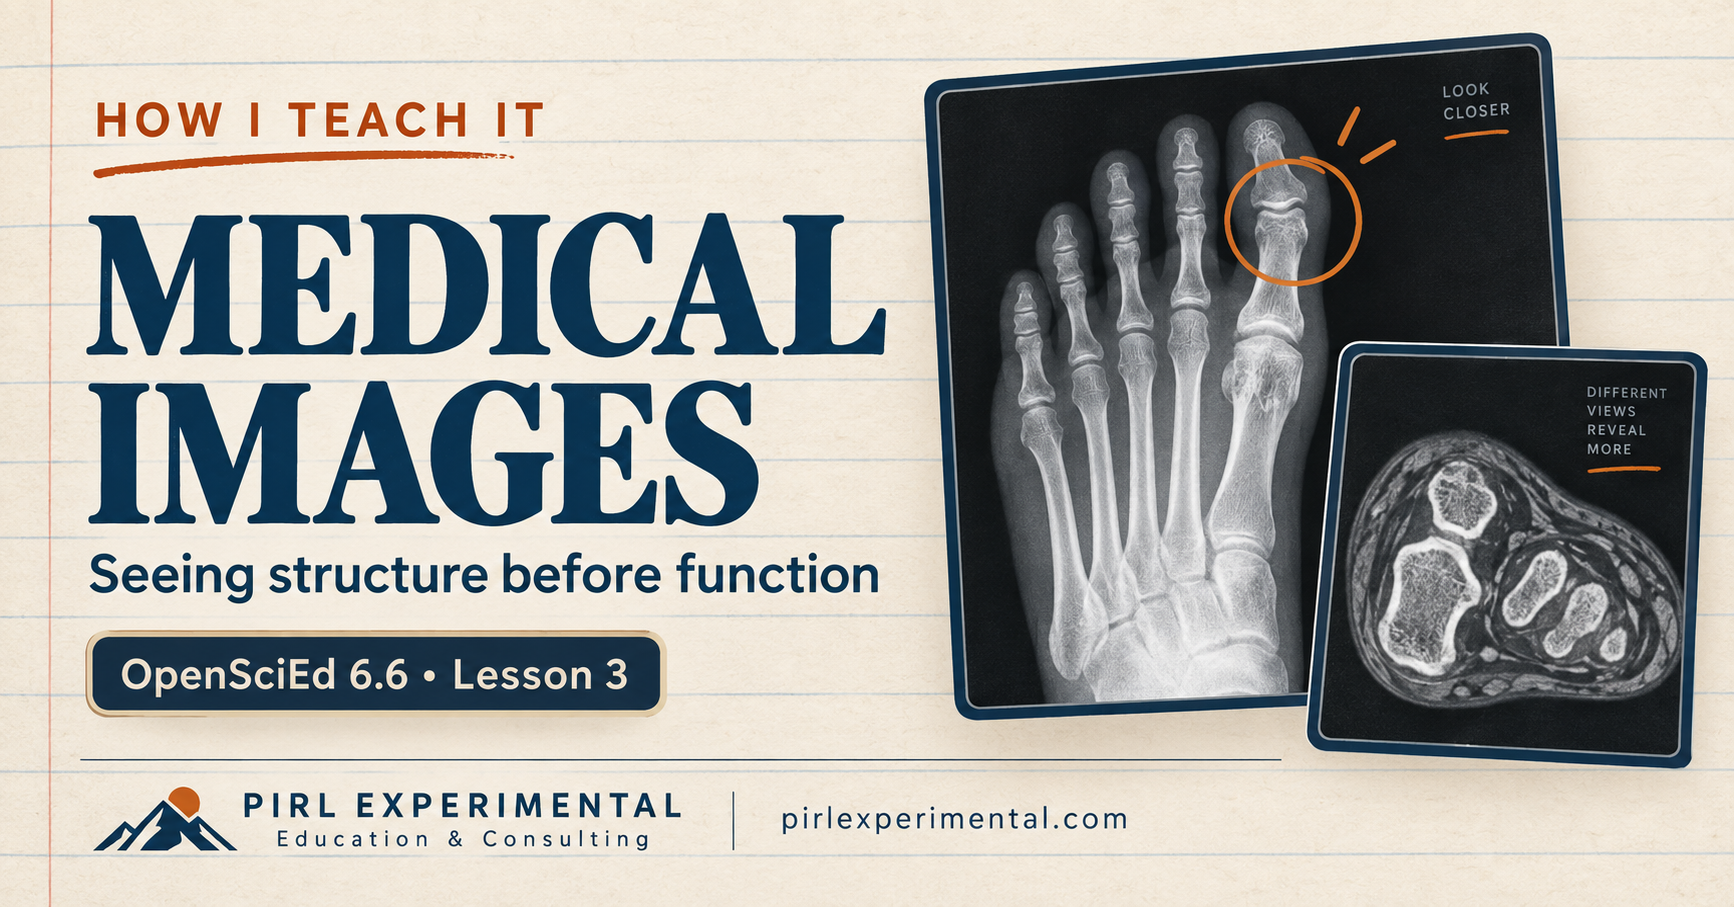
In How I Teach Medical Images: Seeing Structure Before Function, the focus shifts to helping students interpret what they are seeing inside the body. I begin with my Medical Images simulation, then use selected reading pages with reciprocal teaching as a reader-response tool. A mini-lesson brings the work together around structure, systems, and subsystems before students write a summary. Keeping the focus on structure at this point gives us a manageable starting place for the deeper questions about function that come later.
Both lessons reflect a balance I keep working toward. I like building digital tools that let students see or test something they otherwise couldn’t. I also want them handling materials, talking through evidence, reading carefully, and writing in their notebooks. A simulation earns its place when it gives us something useful to think about afterward. The same is true of a reading, a station, or a teacher explanation. The connections between those experiences are a big part of what I hope to capture in these posts.
My plan is to continue through the lessons and build a collection teachers can return to as they move through the unit. I also want room to revisit an approach when I find a better way to teach it. For now, the unit introduction and medical imaging articles are the starting point, and you can find them in my Classroom Resources collection. Take a look, borrow an idea that fits your students, and let me know how you would adapt it. That exchange is part of why I wanted to start sharing the work in the first place.
